Why did we choose WordPress.org for this blog and why is it different to WordPress.com? Here’s our take, along with the steps we took to set up this blog.

Why we chose WordPress
We chose WordPress for a number of reasons: familiarity, low cost, good help resources and the chance to extend our development skills. We’ve written a whole other post about how to choose a website platform, and why WordPress was an easy choice for us.
Setting up a free WordPress.com blog:
We knew that content needed to be our focus while figuring out whether this project had legs, so we:
- Created a free blog on WordPress.com
- Searched for a free theme, with a grid style layout which would be well suited to a blog
- Decided on the Rebalance theme
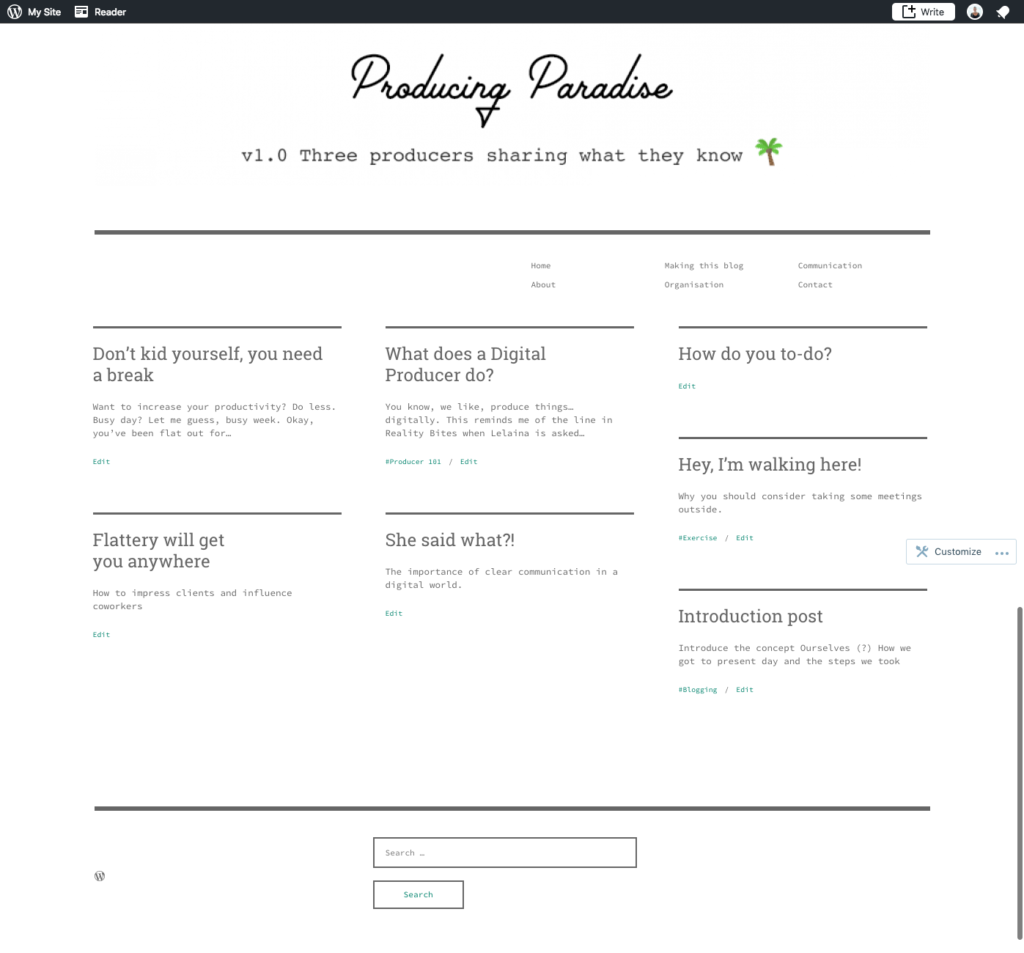
This allowed us to get up and running with minimal effort, so we could start populating draft posts without getting bogged down by the appearance. It looked a little different back then!

We initially chose WordPress.com as it was the quickest and simplest way of getting a site online to test out our ideas. However, we found that we soon chafed at the limitations of the free WordPress.com plan, particularly around styling and site features (such as reading time on posts). We also wanted greater flexibility around post management, categorisation and authors.
Enter WordPress.org…
The key difference between WordPress.com and WordPress.org is that .org is a self hosted content management system, whereas .com is a blogging platform that is hosted for you.
This means that with .org it’s up to the owner of the site to manage getting the site ‘online’, as well as ongoing security and feature updates. With .org, you have a lot more control over how the site will look, function and operate. From our experience, it helps to have some technical knowledge (and time!) when choosing to go with WordPress.org. Here’s a great article that compares the two.
Setting up a WordPress.org site:
We took a very simple approach to set up WordPress.org in order to determine if it was right for us. We were conscious of not investing too much time and money. Here’s how we tested our ideas and set up a minimum viable product (MVP) using WordPress.org:
- Purchased website hosting*
- Set up an instance of WordPress
- Installed the free restricted site access plugin, so that we could continue to keep the site hidden from the public while adding content and working behind the scenes on the styling and functionality of the site itself
- Searched for a free theme and installed the Slanted theme
- Created a child theme, and modified to suit our branding and styling
- Configured the site to function how we wanted, installed plugins, security features and made template adjustments
- Once we were happy we removed the restricted site access plugin and the site was “live” to the public
There’s a lot that happened in points 5 and 6, and we’ve intentionally glossed over in order to keep the steps simple. It’s around point 5 that we decided to stick with WordPress.org, and invested our time to get the site looking and functioning the way we wanted. We’ll deep dive into those areas another day!
It’s good to point out that one of the main reasons we went with WordPress (that we touched on here), is that it’s open-source software with great support and the ability to Google almost anything 😉.
* Full disclosure: while we’re in this for love (not money!), signing up for Dreamhost with our referral link will earn us a tiny kickback on our website hosting costs.


