
How to blur part of an image for free

If you need to blur part of an image and can't afford Photoshop, try the free blur tool in Canva or Awesome Screenshot!
Summary:This guide explains how to blur parts of an image for free using Canva and Awesome Screenshot. Canva offers a precise brush tool, while Awesome Screenshot provides a quick blur option via a Chrome extension, both helping you protect privacy or highlight specific areas of an image.
I was updating an old post and needed to quickly blur some text in a screenshot for privacy reasons — usually I'd turn to Photoshop for these tasks, but I needed a free alternative and found that both Canva and Awesome Screenshot could do it!
Here’s the how-to video (7min), using DeLorean Ipsum to get the demo screenshot:
Canva
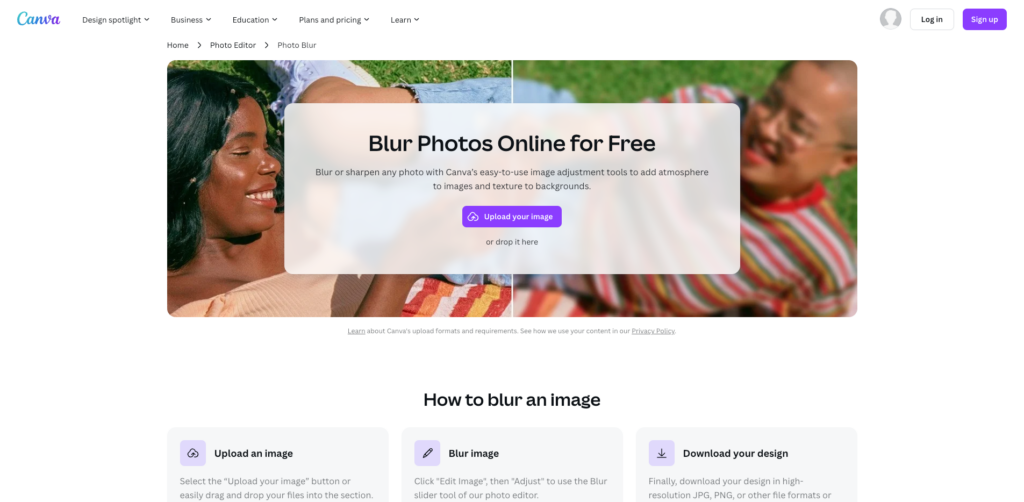
Canva is an online image editing tool with a blur feature, which you can use for free.
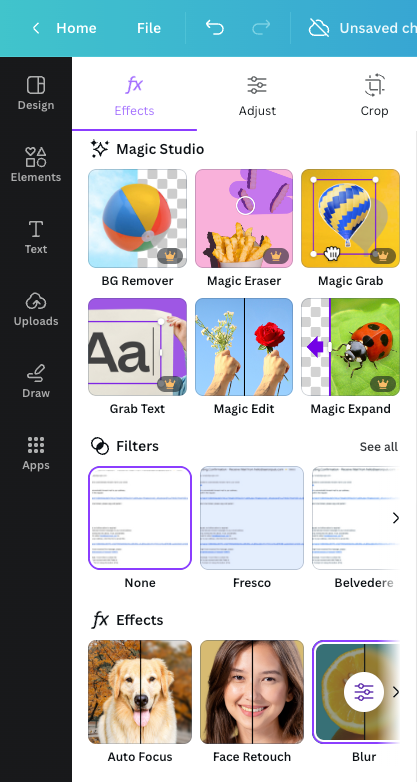
Once your image has been uploaded, click "Edit image" and select the "Blur" app (under "Effects").
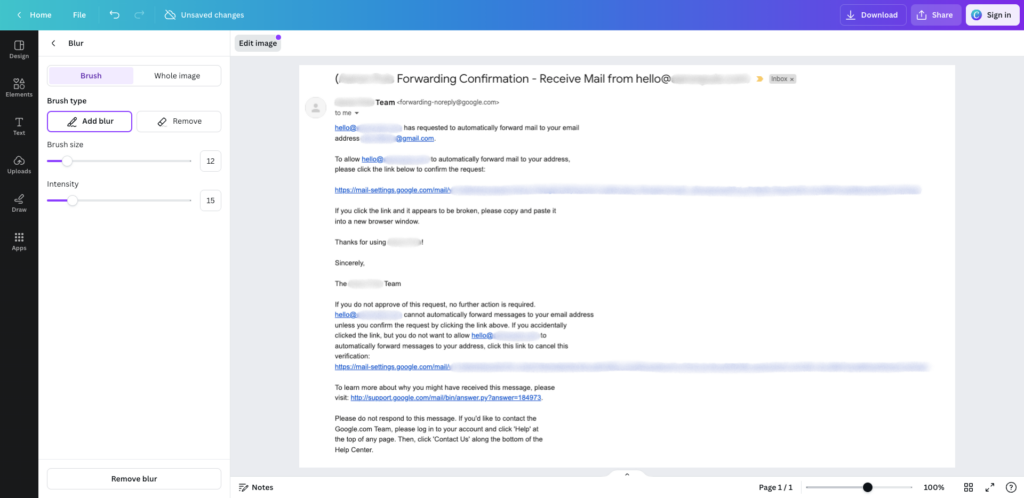
Adjust the brush size and intensity to suit your task, then draw on the parts you want blurred out and download the image when done.
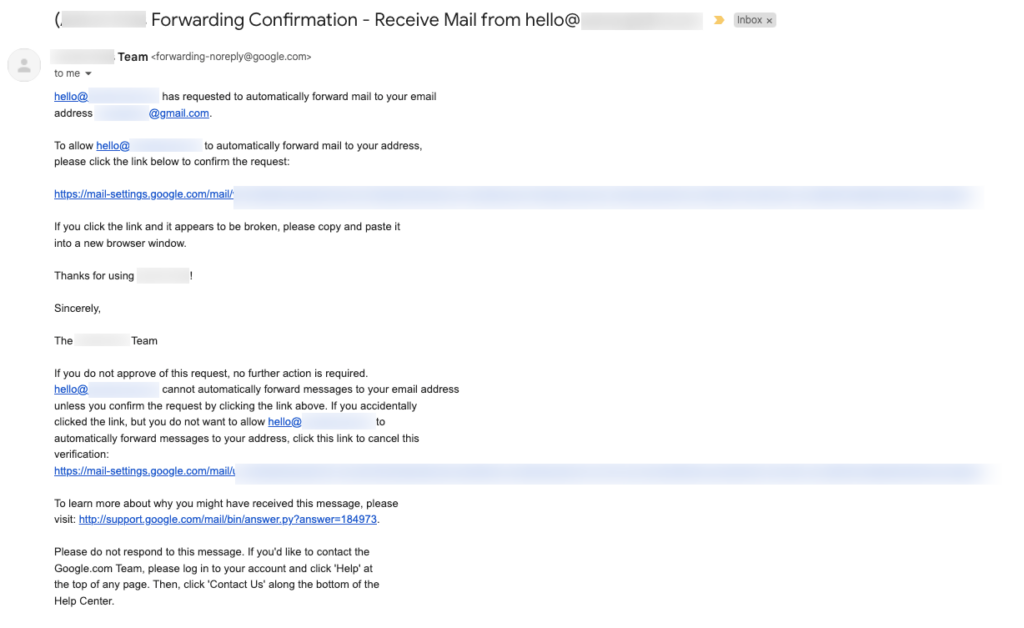
Note: you'll need to sign in for the image download to include your blur! I learned this the hard way, wondering why the downloaded image wasn't showing the blur when I wasn't signed in 🙄
Awesome Screenshot
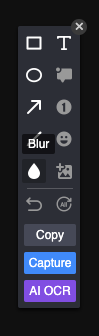
Awesome Screenshot is a free Chrome browser extension (I recommend having anyway!) which also has a blur feature — just upload your image into the browser, use the "waterdrop" icon to select the blur tool, then click "Capture" when you're ready to download the finished product.
Orrr you can click "Capture" first then "Annotate" to get the image editing options back.
Let's compare!
The best tool to use is the one you already have, but if I had to choose between these two I'd go for Awesome Screenshot since the blurred area is a tidy rectangle, and can be adjusted after you first apply it.

Result in Canva
Result in Awesome Screenshot
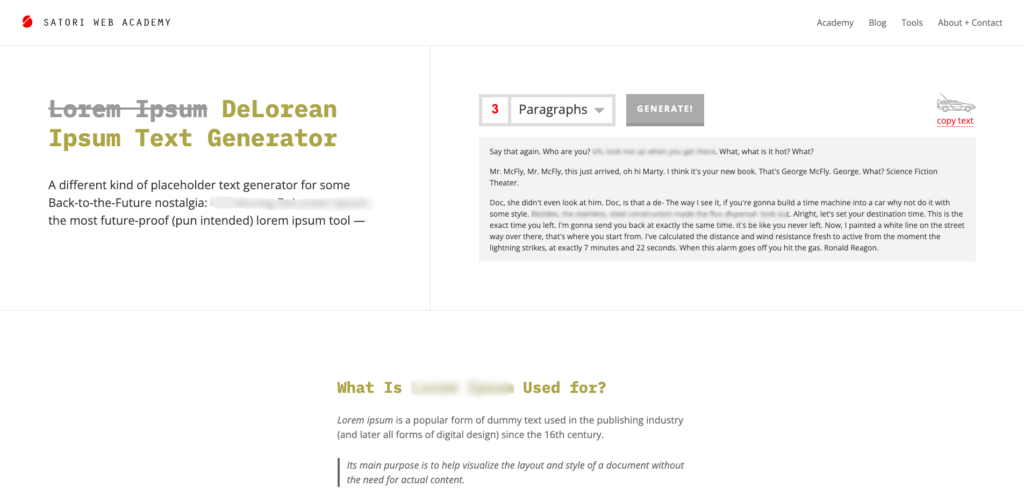
Another Canva example
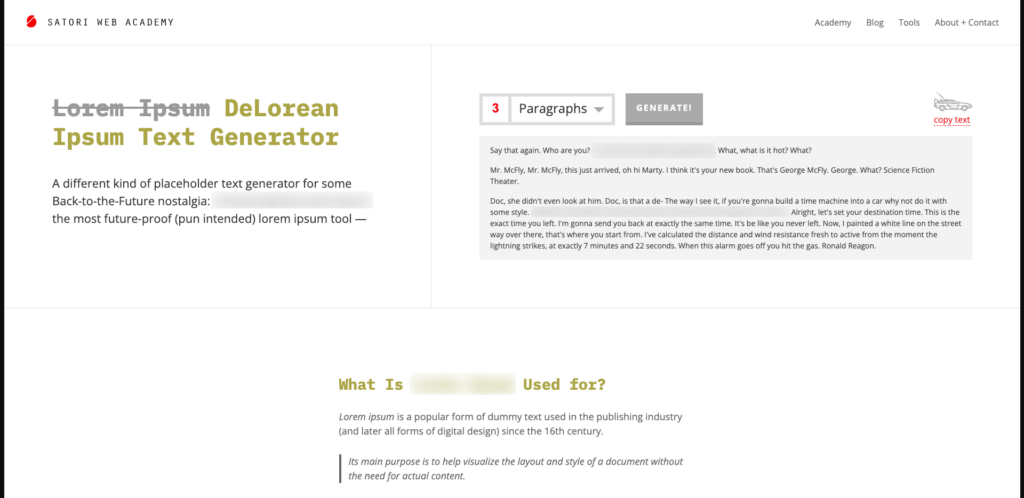
Another Awesome Screenshot example
Looking for more ways to streamline your small business operations?
From managing projects to protecting sensitive info, there are many ways to optimise your workflow.
Want a plug-and-play system to support your productivity as a freelancer?
Our Notion template gives freelancers a complete setup to manage projects, track tasks, and stay organised, helping you stay focused on your goals.
EXPLORE THE TEMPLATE →
Ready for the complete framework?
The Most Organised Person I Know shows you how to design simple systems that reduce mental load and help your work flow more smoothly, from daily tasks through to long-term projects.
GET THE EBOOK →
Streamline your operations and achieve your goals.