
How to secure your online accounts using a password manager

Data security is a hot topic right now! Here's how you can secure your online accounts to protect yourself from hackers, and minimise impacts of a data breach.
Summary: A password manager app securely stores and generates strong passwords for your online accounts. Use it to keep track of your login details, use unique passwords for each account, and enable two-factor authentication for extra security. This helps protect your data from breaches and simplifies account management.
Secure your online accounts
Here's a short (8min) video on how to secure your online accounts:
8 steps to data security
Check yo self
Sign up for a password manager
Download the app(s)
Get the browser extension(s)
Setup two-factor authentication
Categorise and share
Get setup
Level up
1. Check yo self
Go to https://haveibeenpwned.com to see if your email has been involved in any major known data breaches.
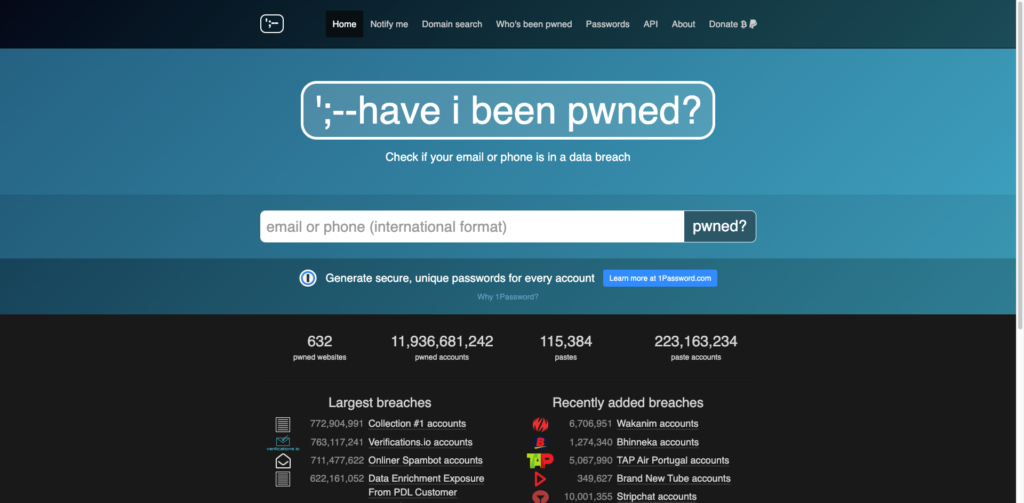
The 'have i been pwned?' website
2. Sign up for a password manager
Ideally something like 1Password, Sticky Password, Lastpass, Dashlane, Bitwarden, Roboform or Keeper, if you can afford it.
(The free Apple keychain or in-browser services are the next best thing, although these may be less secure and passwords can't always be shared across devices.)
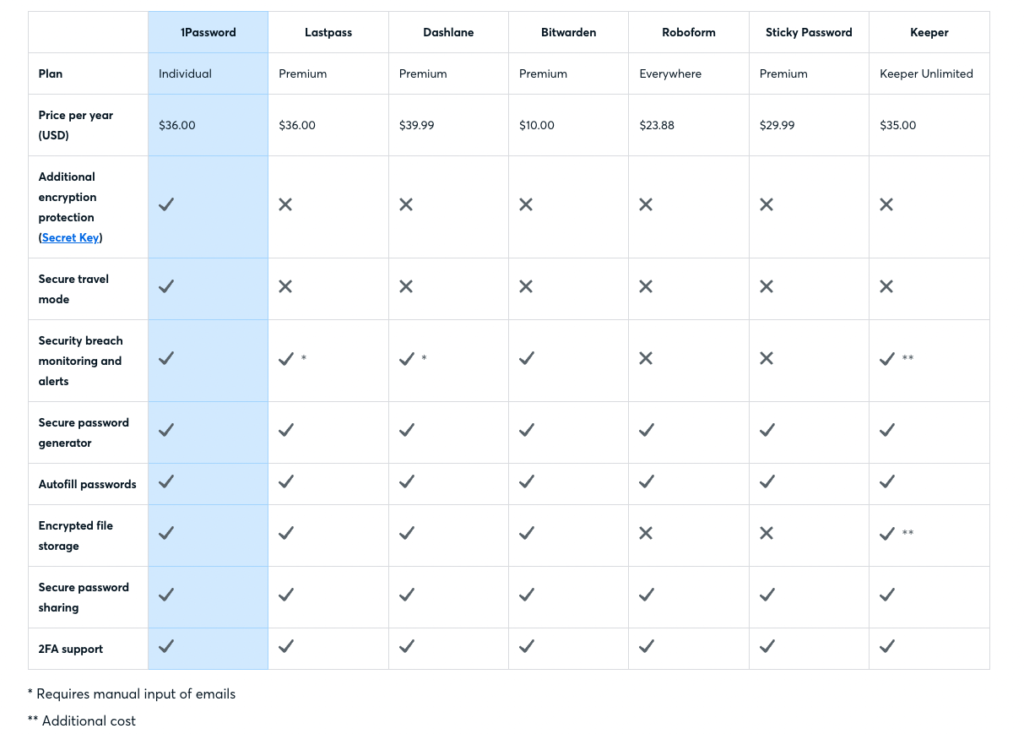
Password manager comparison table
3. Download the app(s)
So you can access passwords via any of your devices (eg. across your phone and computer).
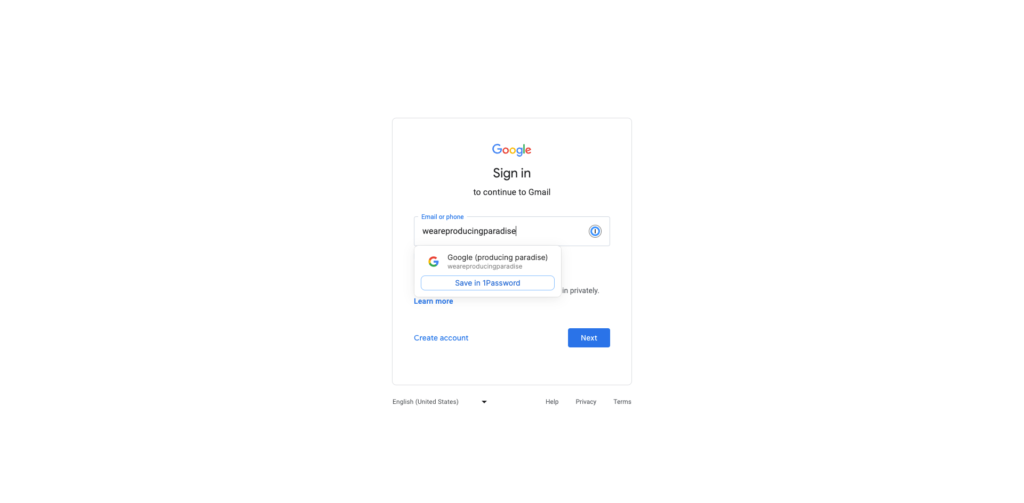
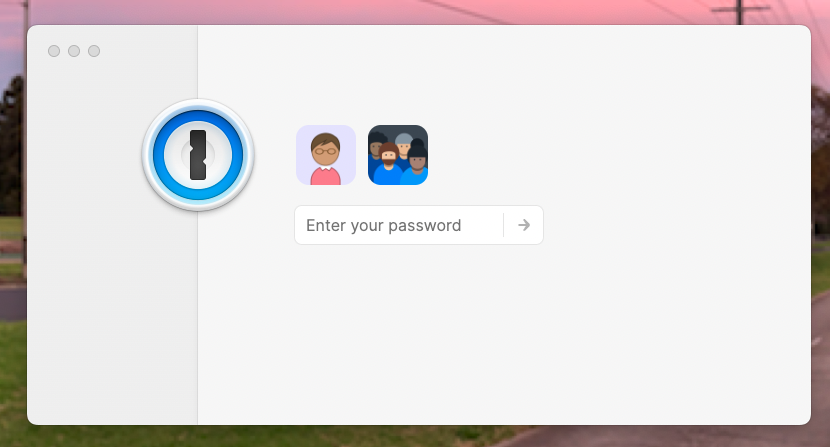
4. Get the browser extension(s)
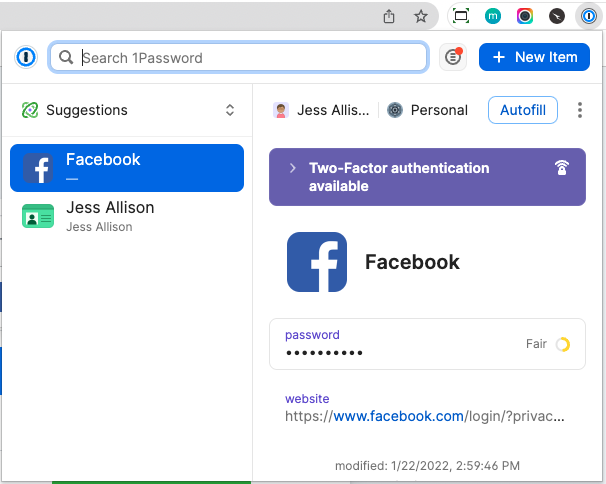
The 1Password browser extension
Activate for any browsers you use, like Chrome or Safari, and it will suggest a password to autofill based on the website URL.
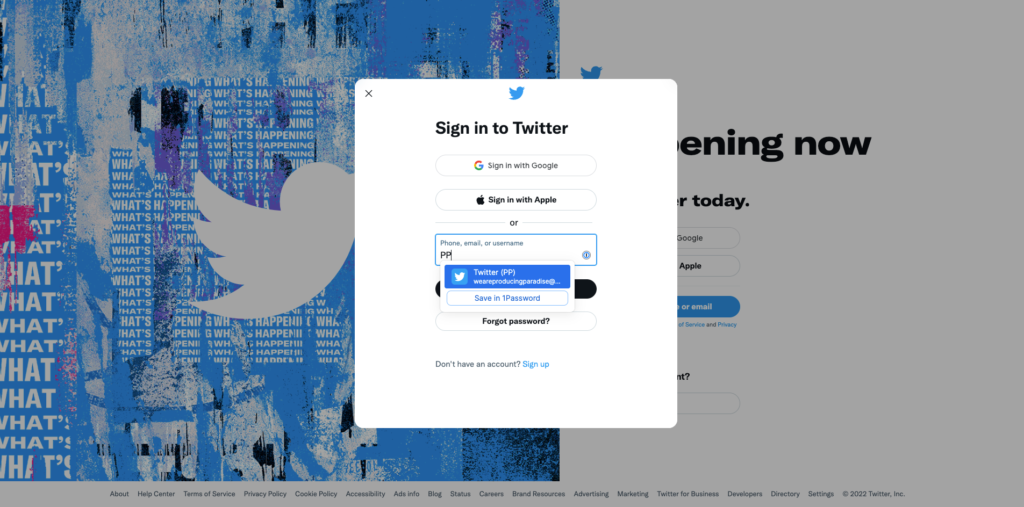
Twitter (X)
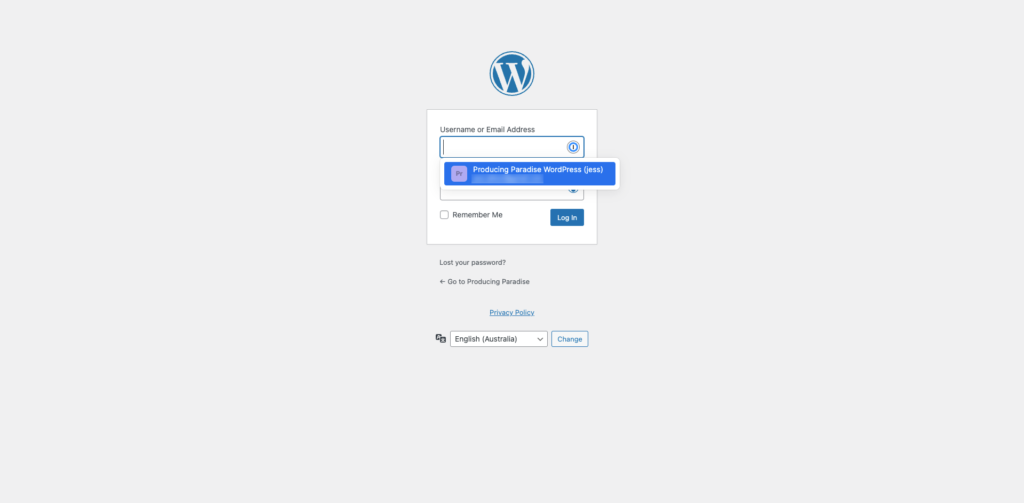
WordPress
5. Setup two-factor authentication

The Google Authenticator app
Two-factor authentication provides an extra layer of security — for details on how to set this up, check out our other post: How to setup two-factor authentication with the Google Authenticator app
6. Categorise and share
If you have a lot of passwords, you can group these using tags, or share these with others within the password manager app.
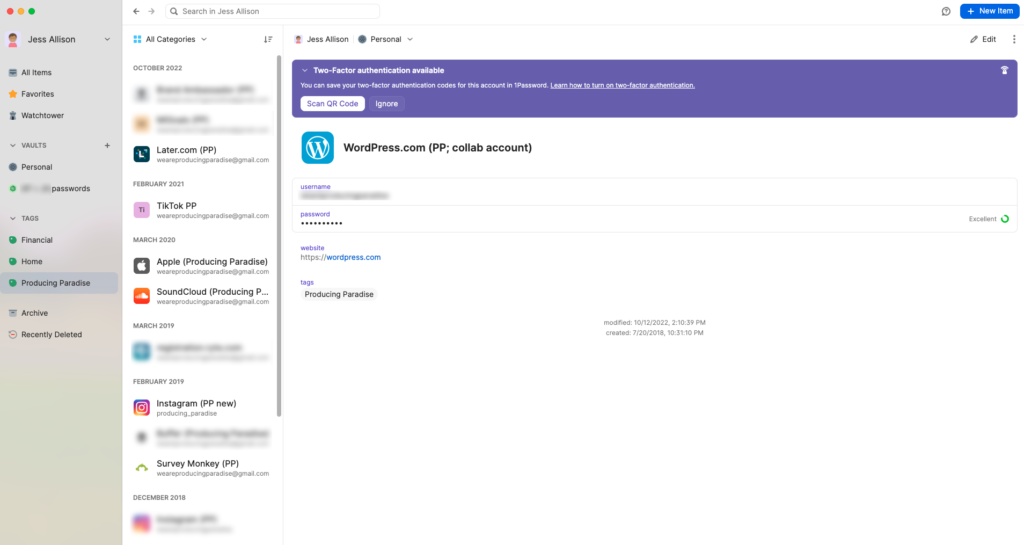
1Password: password manager
7. Get setup
You’ll only need one password to access your password manager — make it something you enjoy typing, and ‘unguessable’
Choose a different password for every account — don’t use the same password twice!
As you add each password, it’s a good opportunity to change it
The 1Password entry screen
8. Level up
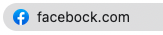
Check the URL before logging into a familiar site — a fake site may only have one letter different to the ‘real’ one!
Check the URL before clicking any link by hovering over it
Use an email alias when signing up for any account — e.g. [yourname]-instagram@gmail.com will send mail to [yourname]@gmail.com
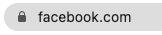
The real Facebook URL
Once you've got this system in place, it's a good idea to turn off the autofill any other services (and delete any saved passwords from those) — so your password manager is the only place managing ALL of your passwords.
Happy password managing!
Psst… if you use this referral link to sign up for Sticky Password, you'll get 85% off (ie. $30, instead of $200!). And if you use this one to sign up to 1Password on a business account, you'll get the first 14 days free!
Sorted your passwords? Time to sort the rest
Password management gives you one less thing to worry about. Good systems can do that for the rest of your work too.
For freelancers who like things organised
The Organised Creative operating system is a Notion template that helps you manage projects, track ideas, and stay organised, so you spend less time hunting for things and more time creating.
EXPLORE THE TEMPLATE →
Ready for the complete framework?
The Most Organised Person I Know shows you how to design simple systems that reduce mental load and help your work flow more smoothly, from daily tasks through to long-term projects.
GET THE EBOOK →
Less chaos, more calm.
This post contains affiliate links. This means we may earn a commission if you purchase services through these links without any extra cost to you. This commission helps us keep the site running. We appreciate your support!